Installing phone in vehicle
 | Each vehicle will have a slightly different setup depending on available space and windshield angle. |
 | Follow local regulations regarding how much of the windshield can be covered by devices. In some cases, the phone might have to be installed closer to the passenger's side. |
Required equipment:
- Phone with RoadAI Mobile Application installed
- Phone mount
- Car power adapter and cable
- Polarizing filter
- White sheet of paper
- Bluetooth button
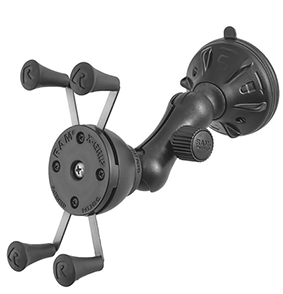
- Center the phone mount behind the windshield as high as possible behind or next to the rear-view mirror on the passenger's side.
-
Secure the mount in place by fastening the locking mechanism.
-
Attach the phone to the mount horizontally.
Depending on the angle of the windshield, it is possible that positioning the phone in front of the holder will give a better view of the road. - The back of the phone should be flush against the circular center grip.
- The charging port of the phone should point towards the passenger's side.
- The camera lens should be as far away as possible from the mount, while still ensuring a stable fit in the mount.
Do not record with the phone set vertically. Vertical videos cannot be processed by RoadAI. Make sure no buttons on the sides of the phone are pressed by the mount. Figure 1. Holder behind the phone 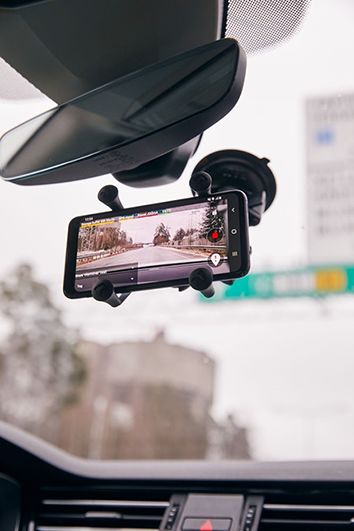
Figure 2. Holder in front of the phone 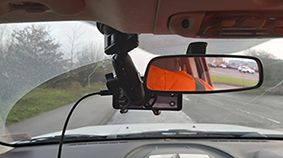
- Connect the phone charging cable to the phone and vehicular power outlet. The phone must be connected to a power source at all times.
-
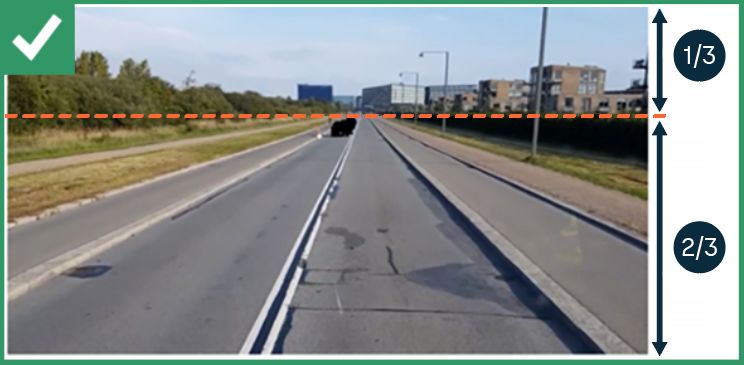
Launch the RoadAI Mobile Application to adjust the angle of the phone for an optimal
image.
-
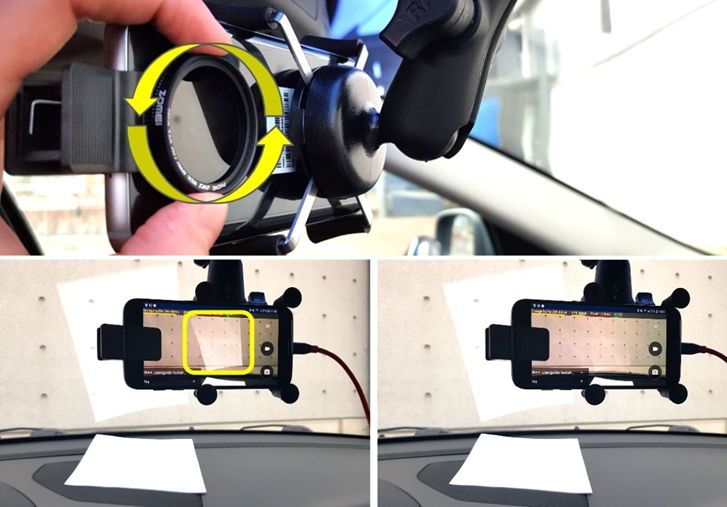
Install the polarizing filter.

