Installing RoadAI Mobile Application using dedicated device setup (Android)
 | It is not possible to proceed with the dedicated device setup if the complete Android device setup has already been done. If that is the case, you must remove all accounts and perform a factory reset on the device. |
 | Do not switch the phone on until you are instructed to in step 2. |
-
Optionally, insert a SIM card into the phone.
A SIM card is only needed to upload data over mobile network. - To switch on the phone, press and hold the power button.
-
If requested, type the SIM PIN code.
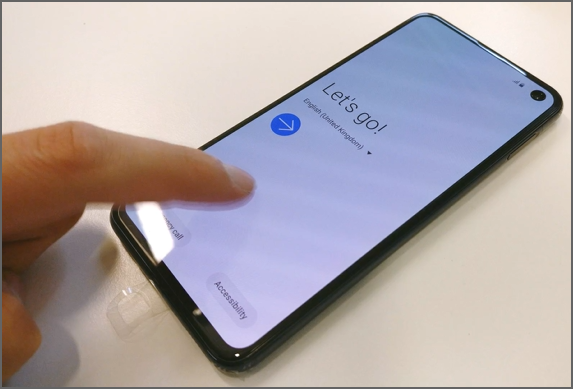
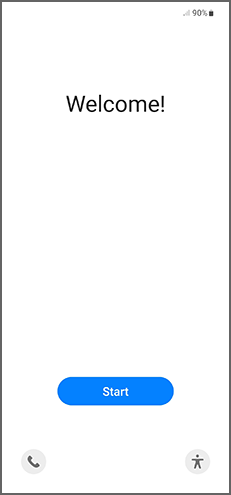
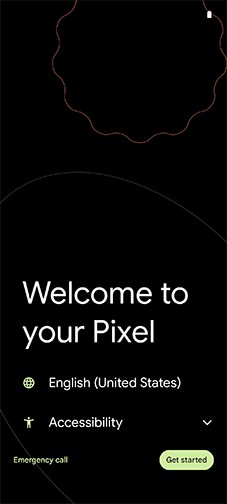
Wait for the Let's go!/Welcome!/Welcome to your Pixel view to appear. The view varies between different phone brands.
-
In an empty area, rapidly tap the screen 6 times to open the QR code scanner. This does
not work if the tapping is too slow.

Figure 1. Samsung A55 welcome view 
Figure 2. Pixel 7 welcome view 
You can access the QR code scanner from this view only. Even if QR code scanning applications exist, they cannot be used in this installation process. If you are unable to return to this view, you must remove all existing accounts from the device and perform a factory reset. - Select a language, and tap Next.
-
Scan this QR code.

If you do not have mobile data activated, you must connect to a Wi-Fi network. To automatically set up multiple devices at once, go to setup.vaisala.ai/qr and type the Wi-Fi network information to generate the QR code. The installation of the device control software and the RoadAI Mobile Application starts automatically once there is an Internet connection. The Set up your device view appears when the installation is completed. - When the download is completed, a notification about how your device is managed appears. Tap Next.
- Acknowledge how Vaisala can monitor your device and tap Continue.
- Acknowledge the Google services and tap Accept.
-
Acknowledge the privacy policy and select how you want your data to be used. Agreeing
with the End User License
Agreement is mandatory to continue.
You are now ready to start using the RoadAI Mobile Application.

